When it comes to home automation, using a Raspberry Pi can notably enhance your setup, but knowing where to start can be intimidating. You'll want to choose the right model, like the Raspberry Pi 4, to handle your automation needs effectively. Additionally, selecting the right software, such as Home Assistant, is essential for seamless integration. As you explore the important tips, you'll uncover strategies that can elevate your system's performance; however, understanding how to troubleshoot common issues is just as critical to maintain efficiency. So, what are the key steps to guarantee everything runs smoothly?
Choosing the Right Raspberry Pi Model
When you're diving into home automation with Raspberry Pi, selecting the right model is crucial for your project's success. Each Raspberry Pi model comes with different specifications that can impact your automation setup.
For most home automation projects, the Raspberry Pi 4 is an excellent choice. Its superior processing power and increased RAM allow for smoother performance, especially when running multiple applications simultaneously.
If you're planning to control various devices or run complex automation scripts, opt for the 4GB or 8GB RAM versions. However, if your project is simpler, like basic sensor monitoring or controlling lights, the Raspberry Pi Zero W might suffice. It's compact and energy-efficient, perfect for smaller tasks.
Consider how many devices you'll connect. The Raspberry Pi 4 has multiple USB ports and an Ethernet jack, making it more versatile for connecting peripherals.
If you're focused on energy consumption or space, the Raspberry Pi Zero W is lightweight and uses less power, but it has limited connectivity options.
Essential Software for Automation
Choosing the right Raspberry Pi model sets the stage for your home automation project, but having the right software is just as important. To get started, consider using Home Assistant. It's a powerful platform that supports a wide range of devices and offers a user-friendly interface. You can easily integrate everything from lights to security systems.
Another excellent option is Domoticz. This lightweight software is perfect for those who want a straightforward setup without sacrificing functionality. It allows you to monitor and control your devices with ease.
You might also want to explore OpenHAB. This open-source solution is highly customizable, making it a great choice if you're looking to tailor your home automation experience. It supports numerous protocols, which means you can connect various devices seamlessly.
For those interested in voice control, consider integrating your setup with Amazon Alexa or Google Assistant. They can enhance your automation experience by allowing you to control devices through voice commands.
Lastly, don't forget about MQTT (Message Queuing Telemetry Transport). It's a messaging protocol that facilitates communication between devices, making it ideal for IoT projects. With the right software, your Raspberry Pi can become the heart of your automated home.
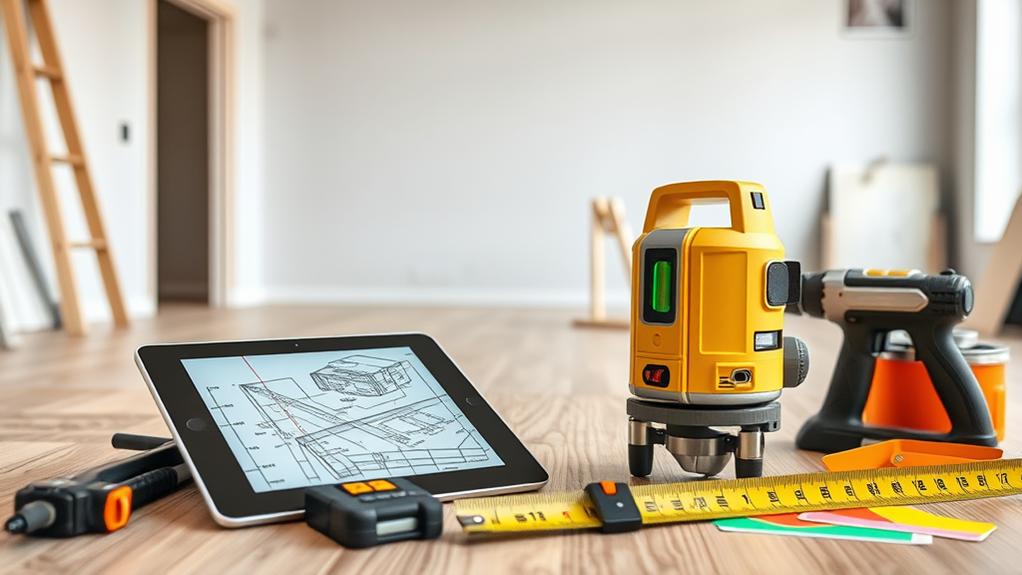
Setting Up Your Raspberry Pi
To kick off your home automation journey, you'll need to set up your Raspberry Pi properly. First, gather all the necessary components: a Raspberry Pi board, a microSD card (at least 16 GB), a power supply, and an HDMI cable if you plan to connect it to a monitor.
Next, download the Raspberry Pi Imager from the official website. Use it to flash a compatible operating system, like Raspberry Pi OS, onto your microSD card. Once that's done, insert the card into your Raspberry Pi and power it up.
Follow the on-screen prompts for initial setup, including configuring your Wi-Fi and setting a strong password. It's wise to keep your system updated, so open a terminal and run 'sudo apt update && sudo apt upgrade' to guarantee you have the latest software.
Don't forget to enable SSH for remote access by running 'sudo raspi-config' and steering to the appropriate menu.
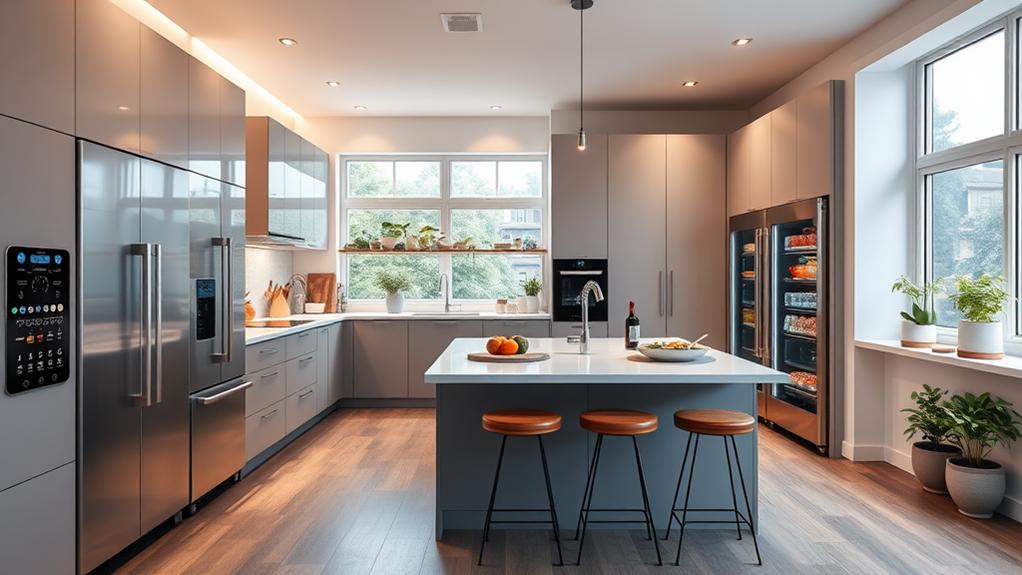
Integrating Smart Devices
With your Raspberry Pi set up and ready, the next step is integrating smart devices into your home automation system.
Start by identifying the devices you want to connect, such as smart lights, thermostats, or security cameras. Make certain they're compatible with your Raspberry Pi and can communicate over Wi-Fi, Zigbee, or Z-Wave.
To begin integration, install necessary software like Home Assistant or OpenHAB on your Raspberry Pi. These platforms support a wide range of devices and allow you to manage them from a single interface.
Follow the specific instructions for your chosen software to set it up.
Once installed, you can add devices through the user interface. For Wi-Fi devices, simply follow the prompts to connect them to your network. For Zigbee or Z-Wave devices, you may need a USB dongle for communication.
After adding your devices, test each one to verify they're responding correctly. This is your chance to tweak settings and customize how you want each device to operate.
With everything integrated, you're one step closer to a fully automated home.
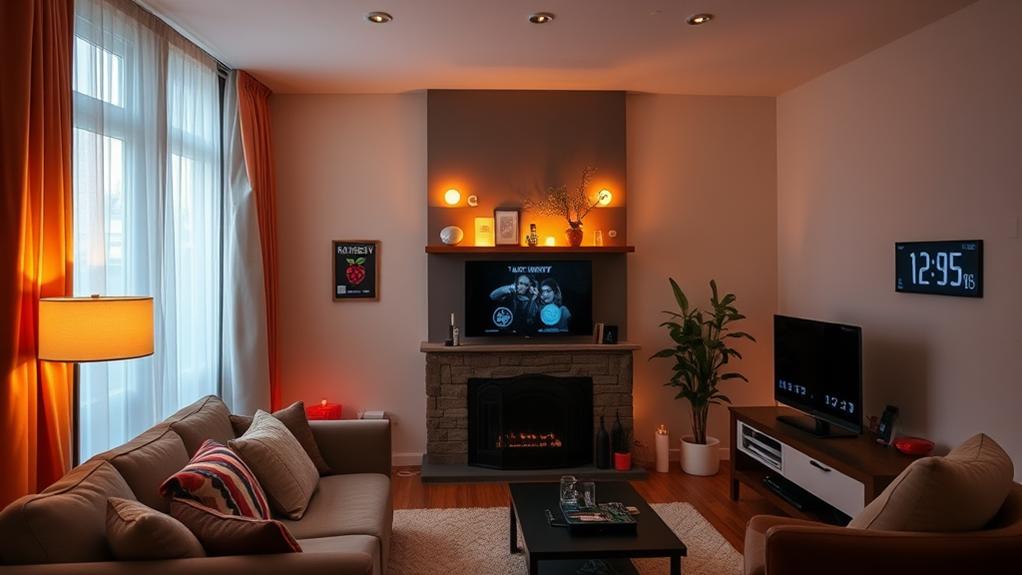
Automating Lighting Control
Often, homeowners want to automate their lighting for convenience and energy savings. By using a Raspberry Pi, you can easily set up an efficient lighting control system. Start by choosing smart bulbs or smart plugs that are compatible with your Raspberry Pi. These devices can be controlled remotely, allowing you to turn lights on or off from your smartphone or tablet.
Next, install the necessary software on your Raspberry Pi. Popular options include Home Assistant or OpenHAB, which provide user-friendly interfaces for managing your devices. Once your software is set up, connect your smart bulbs or plugs to the system.
You can create schedules to automatically turn lights on at sunset or off at bedtime, which not only saves energy but also enhances your home's security. You can also set up motion sensors to trigger lights when someone enters a room, adding another layer of automation.
With these simple steps, you'll enjoy greater control over your lighting and see a noticeable reduction in your energy bills. Automating your lighting with a Raspberry Pi is a practical and rewarding project that enhances your home's functionality.
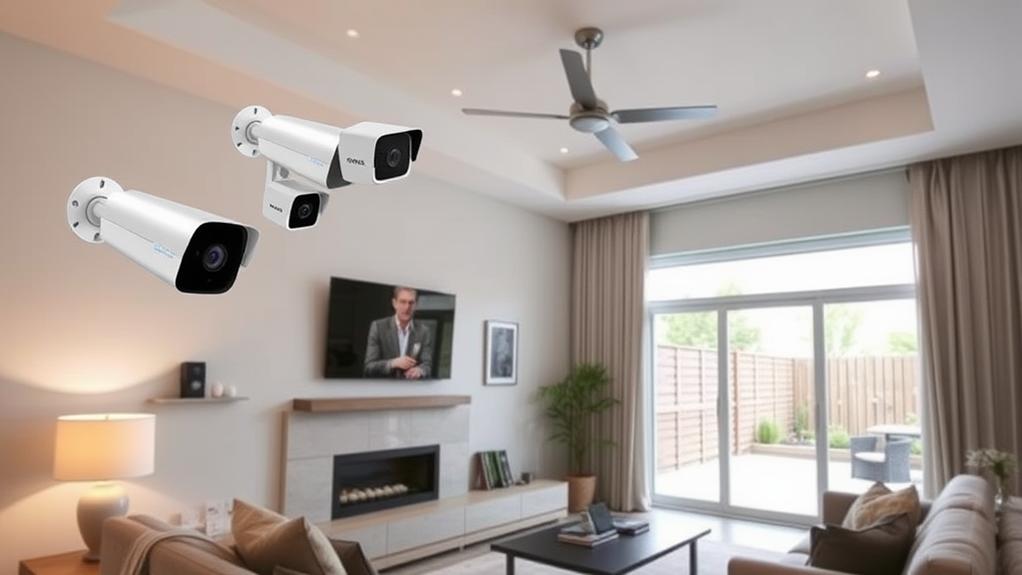
Creating a Home Security System
After setting up your automated lighting, it's time to enhance your home's security. A Raspberry Pi can help you create a cost-effective and customizable security system.
Start by installing motion sensors around your property. These sensors will alert you whenever they detect movement, sending real-time notifications to your smartphone.
Next, consider adding cameras for visual monitoring. You can use USB webcams or IP cameras connected to your Raspberry Pi. By utilizing software like MotionEye, you can easily stream and record footage, keeping an eye on your home from anywhere.
Don't forget about door and window sensors. These can trigger alarms or notifications if someone tries to enter your home. Integrate these sensors with your Raspberry Pi using GPIO pins. This way, you can automate responses, like turning on lights or sounding alarms when security breaches occur.
Lastly, make sure to secure your network. Use strong passwords and enable encryption to protect your Raspberry Pi from unauthorized access.
With these steps, you'll have a robust home security system that not only deters intruders but also gives you peace of mind.
Energy Monitoring With Raspberry Pi
Monitoring energy consumption in your home can lead to significant cost savings and increased efficiency. With a Raspberry Pi, you can easily track your energy usage, identify patterns, and make informed decisions about how to reduce waste. Here's how to get started:
- Choose Your Sensors: Select the right energy monitoring sensors compatible with your Raspberry Pi, like the ACS712 or the PZEM-004T, which measure current and voltage.
- Set Up Your Pi: Install the necessary software, such as Python and libraries like Matplotlib for data visualization, to collect and analyze energy usage data.
- Connect and Configure: Wire your sensors to the Raspberry Pi, ensuring you follow the correct pin configurations. Use code snippets available online to help with setup and configuration.
- Analyze and Optimize: Regularly check your energy data and look for trends. You might find that certain appliances consume more energy than expected, allowing you to adjust usage habits or invest in more efficient devices.
Voice Control Integration
Integrating voice control into your Raspberry Pi home automation system can take convenience to the next level. By enabling voice commands, you can simplify daily tasks and enhance your interaction with your smart devices.
To get started, you'll need a microphone and a voice recognition software, such as Google Assistant or Amazon Alexa, both of which can run on your Raspberry Pi.
First, set up your chosen voice assistant by following its installation guide specific to Raspberry Pi. Once installed, configure it to recognize your voice commands. You can create custom commands that control various devices, like lights, thermostats, and security systems, making your home more responsive to your needs.
Next, consider integrating IFTTT (If This Then That) to expand your voice control capabilities. This platform allows you to connect different services and automate tasks based on voice commands. For instance, you might say, "Turn on the living room lights," and IFTTT will trigger your Raspberry Pi to execute that command seamlessly.
Lastly, verify your microphone is positioned well for ideal voice recognition. With these steps, you'll enjoy hands-free control over your home, making your living space smarter and more efficient.
Remote Access and Control
With remote access and control, you can manage your Raspberry Pi home automation system from anywhere. This flexibility allows you to check on your home, adjust settings, and respond to alerts while you're on the go.
To set up remote access effectively, consider these key steps:
- Use Dynamic DNS: If your home IP address changes, a dynamic DNS service can keep your connection stable, making it easy to access your Raspberry Pi.
- Install a VPN: Setting up a Virtual Private Network (VPN) guarantees secure access to your home network, protecting your data from prying eyes.
- Leverage SSH: Secure Shell (SSH) lets you control your Raspberry Pi remotely via the command line. Just enable SSH in the Raspberry Pi configuration settings.
- Utilize Mobile Apps: Many home automation platforms offer mobile apps that let you control your devices directly from your smartphone, making adjustments quick and convenient.
Troubleshooting Common Issues
Even with remote access set up, you might encounter some common issues that can disrupt your home automation experience. One frequent problem is connectivity. If your Raspberry Pi loses Wi-Fi, check your router and reboot the device. Sometimes, simply moving it closer to the router can help.
Another issue could be power supply. Confirm your Raspberry Pi is getting enough power. Inadequate power can lead to unexpected shutdowns. If your Pi keeps crashing, try using a higher-rated power supply.
Also, keep an eye on software updates. Outdated software can lead to bugs or performance issues. Regularly update your operating system and any automation software you're using.
If your devices aren't responding, check the configurations. Sometimes, settings can change after updates. Verify that your scripts and settings are correct.
Conclusion
In wrapping up your Raspberry Pi home automation journey, remember that every challenge is merely a stepping stone to mastery. Embrace the learning curve, and don't shy away from tinkering; it's all part of the adventure. As you streamline your home's efficiency and elevate your comfort, you'll find that the little hiccups along the way are just opportunities for growth. So plunge into, explore, and let your creativity shine as you transform your living space into a smart haven.